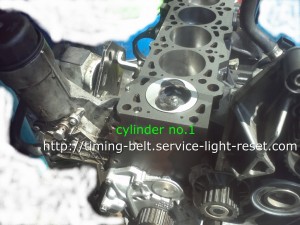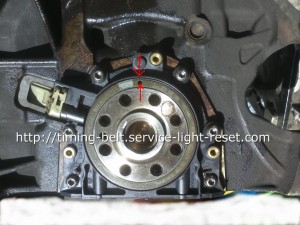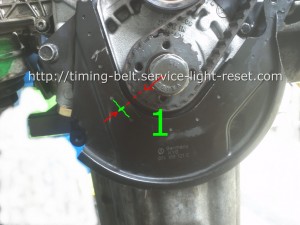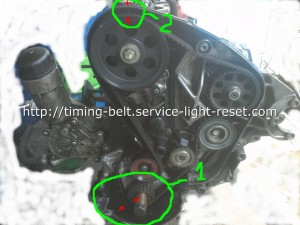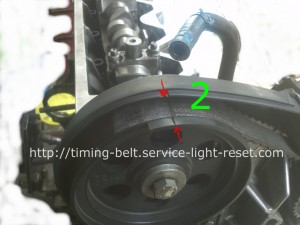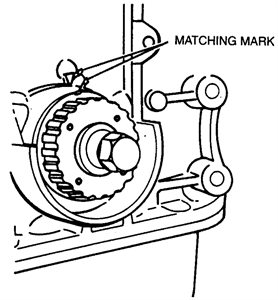
Crankshaft match marks
Align marks on timing belt pulley and pump body.
Camshaft pulley alignment marks
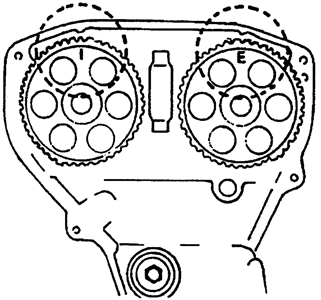
1. Align marks on camshaft pulleys with alignment marks on seal plate.
2. Install timing belt. NOTE: No looseness should exist on the tension side and at the camshaft pulleys.
3. Loosen tensioner lock bolt.
4. Turn crankshaft 2 revolutions in direction of rotation and check that timing marks are still in alignment.
5. Tighten timing belt tension lock bolt to 27-38 ft lb (32-52 Nm).
6. Apply a force of 22 lbs to timing belt between camshaft sprockets.
7. Belt deflection should measure 0.30-0.33 in (7.5-8.5 mm)
NOTE: Replace tensioner spring if timing belt deflection is excessive.
Timing Belt Installation
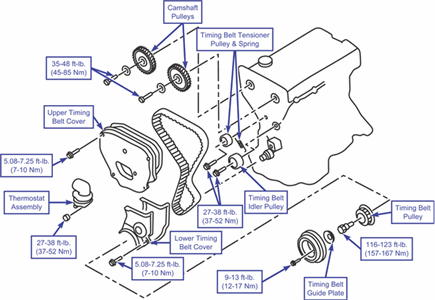
1. Install lower timing belt cover.
2. Install upper timing belt cover.
3. Install power steering drive belt and adjust belt tension.
4. Install fan pulley.
5. Install generator drive belt and adjust belt tension.
6. Install A/C drive belt and adjust belt tension.
7. Install splash guard.
8. Install fan and fan shroud.
9. Install 4 fan bolts. Tighten to 24 ft lb (33 Nm).
10. Install fan shroud mounting bolts.
11. Install fresh air duct.
12. Connect hose to resonance chamber.
13. Connect battery negative cable.
